About Me

My photo
Los Angeles, CA, United States
I'm Julia! I sew and design fabric and go on food adventures!
Showing posts with label Sewing. Show all posts

Tuesday, February 3, 2015

Loving that Linden

It's been chilly here in LA! Not "East Coast" chilly by any means, yet still chillier that I've become accustomed to (I must be getting soft in my old age! ha!).

I've been wearing a lot of sweaters lately, but swimming through the endless sea of options available at the mall to find the perfect ones has become a maddening endeavor.

I'm a HUGE (HUGE) fan of the Grainline Studio Scout Tee, so when I saw their Linden Sweatshirt I thought I'd give it a go for these "frigid" temperatures (it was literally 75 degrees yesterday; I am a big baby).


I had this amazing knit that I purchased for cheap from the FIDM Scholarship store downtown that I thought would be perfect. It's a crazy ribbed knit with metallic detail. It's obviously quite cozy...


Cutting took about 30 mins in my tiny space and piecing only took about 40 mins. Like the Scout Tee this pattern comes together perfectly and quickly!

Ta Da! I used the opposite side of the fabric for the sleeves which shows more metallic, and has a chain-mail-like appearance. Very Joan of Arc for the modern age. And as you can see that it was a terrible day outside with it being mildly overcast and all...


I'm a happy camper! Definitely can't wait to try it with some lace sleeve detail and a lighter weight knit as spring warms up this horrible LA frost


Wednesday, August 21, 2013

Roxanne Obsession

I am a little obsessed with the Roxanne top by Victory Patterns.

It's perfect for hot LA weather, so after wearing my original out of a lovely cotton chambray...


I wear it a LOT, so much that I decided that I had to make a second!


For the redux, I used a print from Tula Pink's Salt Water collection, lace for the back yolk, and a Dear Stella cotton solid for the collar.


I also shortened the back a little bit, but it's still plenty long.


I have a hard time with a summer wardrobe because I love layering, and I hate being hot. Los Angeles has been an exercise in perseverance over perspiration (how do Angelinos keep makeup on???)


I think that sleeveless cotton tops are going to be a major part of my wardrobe from here-on out.


Sunday, August 18, 2013

Emo Emo Scrap Sack Tutorial


In my (hopefully very temporary) unemployment here in LA I've been able to catch up on a lot of sewing projects that I've been meaning to work on, and make a few domestic items that my adorable new apartment needs.

After seeing so many cute scrap sacks and thread catchers at sew days and workshops I knew I had to make my own and properly inaugurate my new sewing space!


Materials:
- 1/4yd cuts of interior and exterior fabrics (at least one should be of a heavier weight for structure)
          I used Kamiya Kanako's beetle print from Emo Emo for the exterior, and a Kaffe Fassett Shot Cotton in Grape for the interior.
- 1.5" strip for binding (I used Kona Lipstick)
- Ruler
- Rotary Cutter
- Something round, like a cup, that has about the same size circle as you want your sack to be

Cut:
Using your round object cut out one circle each of your interior and exterior fabrics, then get ready to do some easy math.
In order to achieve the correct length of the side pieces that you cut you need to determine the circumference of your base circles, and add seam allowance.
Circumference=2*raduis of circle*3.14
The radius of my circle was 2.25" so:
C=2*2.25"*3.14=14.13"
I then added .5" for seam allowance which gave me 14.63" for the length of my sides. Luckily this is is about 14 and 5/8", but you can round to the nearest number that you're comfortable with; it won't matter too much.
 Using this measurement cut one piece of your exterior and lining measuring 9" (for height) by the number you calculated (to fit around the base).
Also make sure that you have your 1.5" strip ready.


Right sides together, sew the side seam (9" seam) on your side pieces, and then finger-press your seams open.


Pin and sew base right sides together on both interior and lining pieces. If the sides and the base don't quite match up, make small pleats around the edges, or take in the side seam.


Turn your exterior right-side-out, and place the inside-out lining into the right-side out exterior. No seams should be visible when they're nested.


Pin your strip for binding along the top of your sack. When you first begin pinning, fold over your binding by about 1/4", and make sure that your last cut-edge overlaps this fold (to hide the seams). Then stitch down the binding using a 1/4" seam allowance.


Finger press a 1/4" fold all the way around the unsewn edge of the binding. Then fold te binging over the raw edge of the sides so that the fold is on the interior of the sack and no raw edges are visible. Pin.


Stitch in the ditch (or if you're like me, you'll sew kind of in the general vicinity of the ditch) on the exterior of your sack, making sure to catch the binding on the interior as you sew.


TA-DAH! You're done! Just fold down the top for extra color-cuteness and added stability.


Now you can keep your sewing area free of messy scraps and cuts without making a million trips to the waste-basket. It's perfect for traveling with too.

Saturday, August 17, 2013

One week in LA

I moved to Los Angeles from sleepy Santa Cruz one week ago today. It's been an adventure:


 Keep it coming LA! I'm ready to take you on!

Sunday, June 9, 2013

Strange Days

The past few months for me have been a strange mix of elation and deep turmoil. A lot is changing in my life, as it is apt to do when you're 23, I guess. Confusion and regret are just part of moving on and trying new things.

At the end of the day we'll all make it through with the help of good friends.

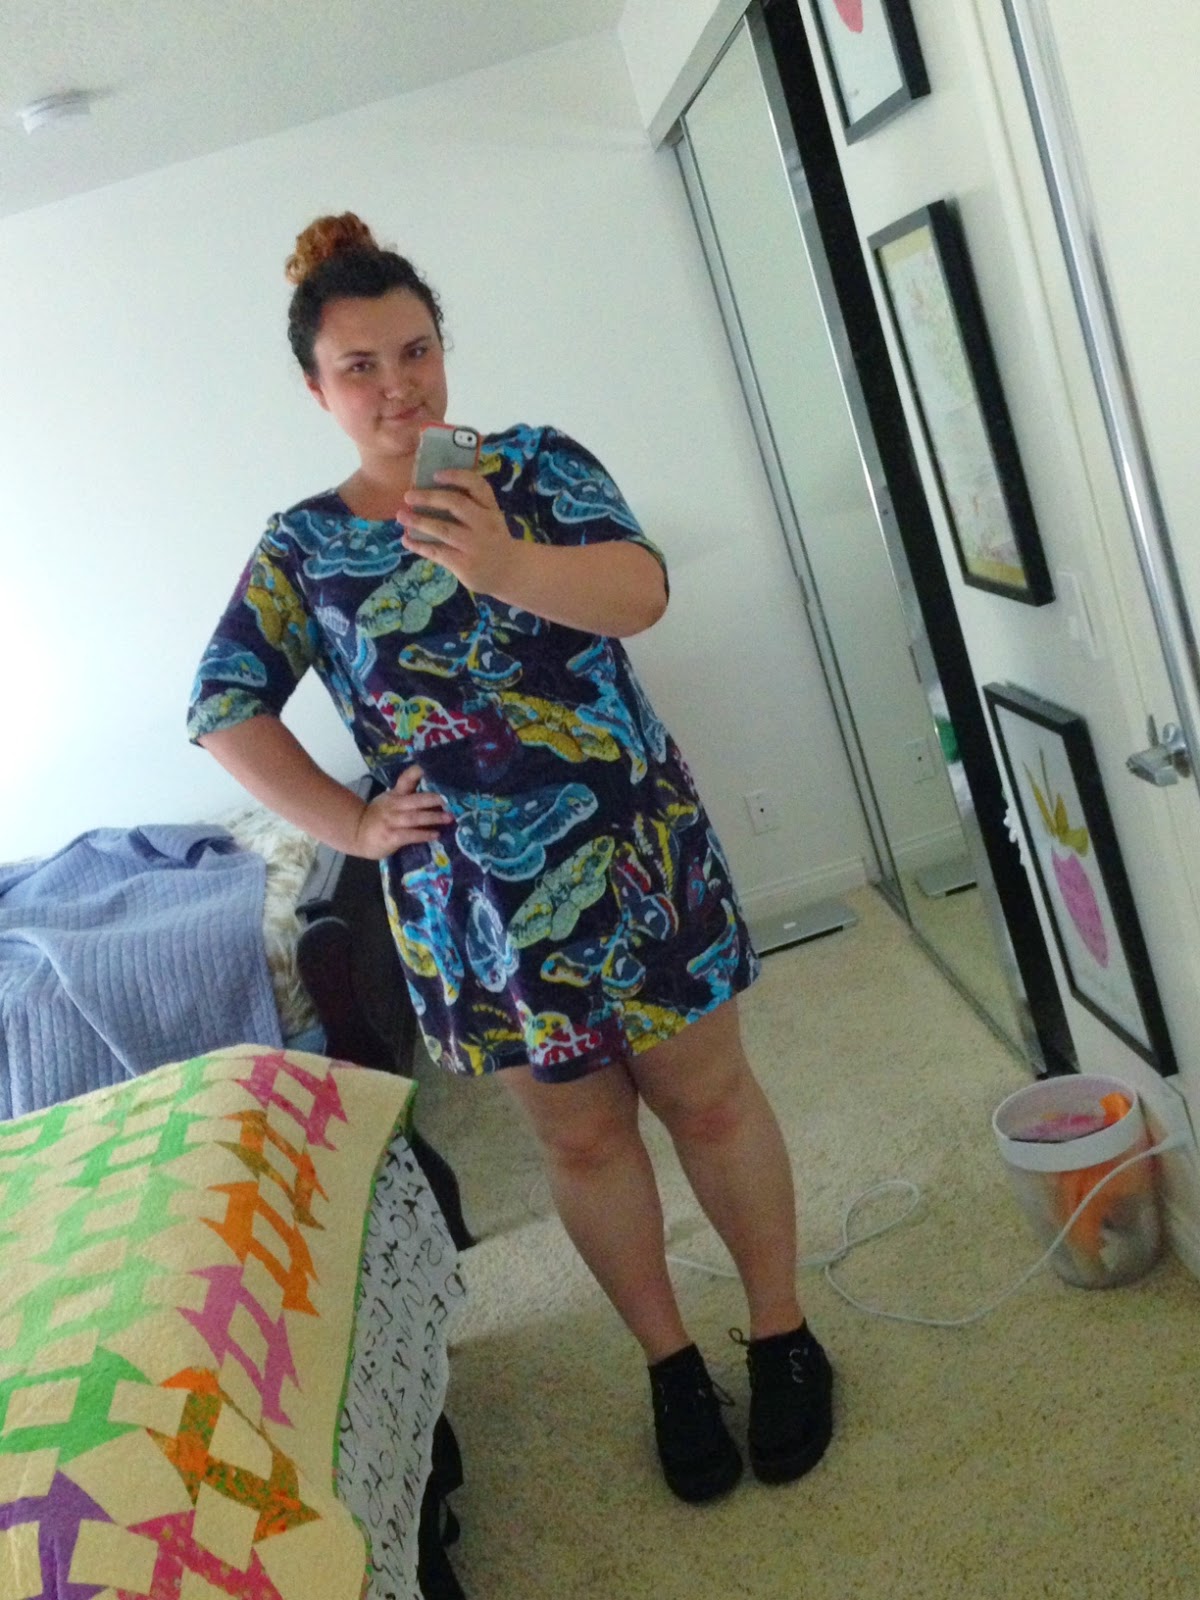
First let me say that I have fallen in love with Colette's Laurel pattern. I had always assumed that a shift dress like the Laurel would be unflattering on me, but I have made 3 so far. This one is made of a cotton sateen that I printed clocks and keys on. 

I'm preparing to enter into a design program (which involves moving to LA, accumulating debt, and breaking off a part of the Santa Cruz part of me, yikes!), so I'm trying to spend this summer finding my voice, which has resulted in some interesting things...


Is this biologist crazy to go to art school? Am I making a huge mistake? Haha, well, I guess I'll have to find out the hard way. All I know is that I'm not where I want to be in life, and if I'm going to course-correct, the time is now. Maybe its stupid, but the time to be dumb is when you're young and still have time to fix your mistakes.

Wish me luck!

Wednesday, July 4, 2012

Go Fourth!

Happy Fourth of July Americans! For everyone else... Happy Fourth of July: The Day They Discovered the Higgs Particle (probably)

In Santa Cruz there is no formal fireworks show on the 4th, an Idea that is taking time to adjust to for this girl who loves 4th of July Fireworks. *Sigh*

However, it's only one week until I leave for San Diego, so I'm using this opportunity to start preparations and packing.

Today amidst BBQing and lurking Tumblr, I tried on my Lady!Loki costume to make sure that the costume looks satisfactory all put together. I'm very pleased!


The base of the dress is a very comfortable bamboo jersey with green sequins and gold lame bias tape as trim. The cape is osnaburg muslin trimmed with faux fox fur and a decorative clasp.

The horned diadem is is a ring of brass strips I got from the hardware store and E600ned together (yes, I am turning that into a verb). The horns themselves are wire armatures covered in  tin foil, and then covered in Cloud Clay. The decorative pieces are Cloud Clay as well.

The wig is fabulous, and from Arda Wigs. This particular one is Buttercup in Black. Not only does this wig look and feel great, but it's easy to style, and I ordered it in the morning and arrived the very next day from Chicago. I am definitely going to purchase from them again.

The corset is from Pendragon Costumes (I bought this one at Clockwork Alchemy. Buying at a con is fun because you get to try before you buy!), and the makeup is all M.A.C.

I have a few tweaks to make (foam to the band of the diadem for comfort, coins for the hair, and maybe fur trim for the boots), but I think the costume is pretty good as-is. I based it on a mix of fanart and some official art.


So hopefully I'll get some killer photos at the Con!


In other news, my friends at Play Crafts (members of the SBAMQG) recently released their first product, a Palette Builder for designers, quilters and crafters! And it's AWESOME!!!


Basically, the idea is that you can upload a photo, and the Palette Builder will create a color palette from the colors that it picks up on. But you can also focus the palette on particular regions of the photo, and choose both the number of colors that it picks up on, and how monochromatic the colors are.


I made this one from some new charms I'm making for Alchemy Tea. This palette builder is super addictive!

Until next time, Happy 4th!