


It was super fun coming up with inspiration and designing the block (more on that later maybe?) but the real challenge was putting my techniques into words for others to follow.
If you're getting the block pattern from the LAMQG newsleter then YAY! You may have read the instructions (or seen my presentation at the meeting) and wondered what the heck I was talking about when I mentioned piecing the circle portion of the block into the background using a facing. Well, that's what this post is about. It's a tutorial for that method of piecing circles into blocks.
If you're not a member of the LAMQG you can get the block from the link below:
And please, everyone, let me know how you like the pattern in the comments! Con Crit is very welcome! This is my first formal block pattern and I'd love feedback.
Using a facing to set a shape into a block:
This method works for most shapes! All you need is some scrap fabric. The facing won't show in the end so feel free to grab whatever you have lying around, matching or not. **Please note that the grey floral Flea Market Fancy print in these pictures is the fabric on my ironing board, and not part of the block**
Step 1:
Cut your scrap fabric exactly to the shape/size of the piece that you want to set in. For the Block, you'll cut a circle about 8" in diameter.
Step 2:
Pin this piece to the RIGHT side of your background. For the LAMQG block example I centered this piece by pressing my facing AND my 12.5" background in quarters and then matching the centers.
Once pinned, sew around the circle (or other shape) 1/4"-1/5" from the edge (Keep it even all the way around. Make sure to stitch in a nice clean shape)

Step 3:
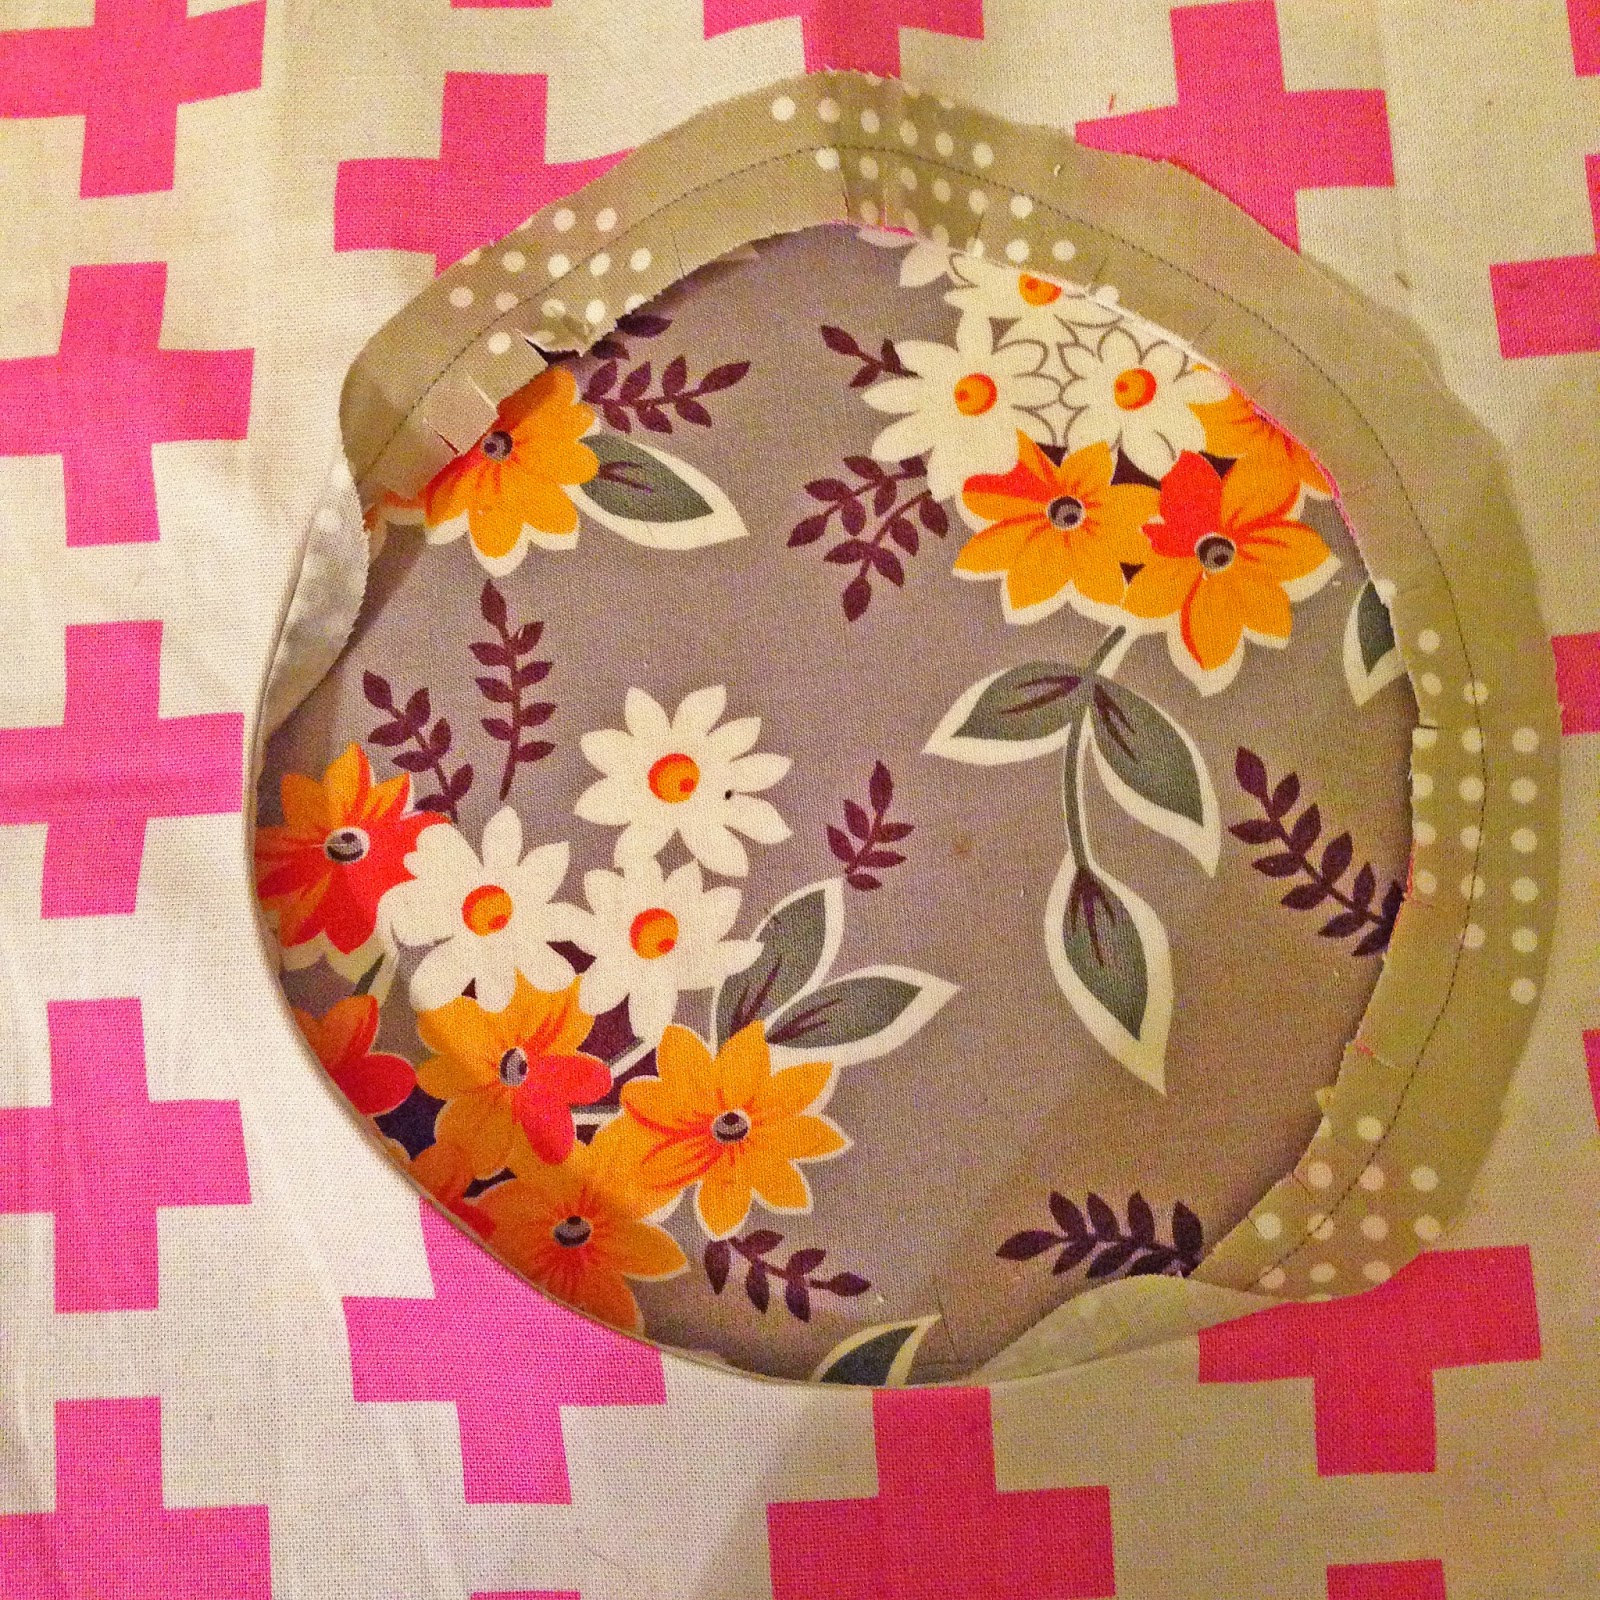
Cut out the center 1/5" inch inside your stitch line. Cut through both the facing and your background fabric. You are cutting your hole!

Clip curves of inside seam allowance making sure not to cut through your stitching.
Flip all seam allowance and facing fabric to the wrong-side of the background piece and press. You should not be able to see any of the facing fabric or seam allowance from the right-side of the background. You should have a nice clean hole. (There is no better way to phrase that. Sorry)
Step 4:
Place background on TOP of finished "Candy piece so that the candy is centered in the circle in the background. Pin if necessary and then sew the candy to the background by stitching just to the left of your previously stitched circle (where you stitched the facing to the background). 3 layers of seam allowance should be to the right of your stitching and should roughly match up with the edge of your "candy".

Once you have stitched all the way around the candy following your previous stitching press your completed block flat.
Once you have stitched all the way around the candy following your previous stitching press your completed block flat.
 |
| Here's the block in the official LAMQG BOM colors! |
Boom! You're done! Congrats, it looks great!
Please don't forget to post feedback: what you like and what can be improved and tag photos of your finished block with #hardcandyblock Cheers!
Wow awesome, I want to try that out
ReplyDelete